Endless Components

With AI-powered component creation, you have access to virtually unlimited components. The AI agent can search the web for the latest API requirements and create custom components that feel like native built-in features. No technical expertise required.

AI Agent creating a custom component

AI Agent creating a Nextcloud component in real-time

⚡ Triggers

  • Webhook Trigger
  • Schedule Trigger (Cron)
  • File Watcher
  • Subworkflow Trigger

🔀 Flow Control

  • If/Else Condition
  • Loop Iterator
  • Convert Values
  • Run Subworkflow

☁️ Nextcloud

  • Files (list, upload, download, share, move, copy, delete)
  • Calendar & Tasks
  • Notes & Talk (chat)
  • Deck, Forms, Mail
  • Users & Groups

🔄 Data Transform

  • JSON to Markdown
  • JSON Filter Array
  • JSON Array to Markdown
  • Table Display
✨ AI-Powered

Create Components with AI

The easiest way to create custom components is with the built-in AI Designer. Just click the "AI" button and describe what you need!

Step 1: Click the AI button
AI Button on Component Builder

Find the purple "AI" button next to "+ New" in the Component Builder

Step 2: Describe your component
AI Designer Interface

The AI Component Designer opens with a chat interface

Step 3: AI generates the code
AI Generated Component Code

AI creates both component.json and index.js automatically

Step 4: One-click creation
Create Component Button

Click "Create Component" to instantly add it to your library

Why Use AI for Component Creation?

Instant

Generate working components in seconds instead of hours

🎯

Accurate

AI understands the component structure and generates valid code

🔧

Customizable

Iterate on the design by describing changes in natural language

📚

Best Practices

AI follows patterns from existing components for consistency

Manual Component Creation

You can also create components manually. Here's the structure:

📁 Component Structure

components/
└── my-component/
    ├── component.json    # Metadata & interface definition
    ├── index.js          # Execution logic
    └── package.json      # (optional) npm dependencies

📄 component.json Reference

{
  "name": "Display Name",
  "description": "What this component does",
  "category": "Category Name",
  "inputs": {
    "simpleInput": "string",
    "inputWithDefault": {
      "type": "string",
      "default": "default value"
    },
    "numberInput": "number",
    "objectInput": "object"
  },
  "outputs": {
    "result": "any",
    "success": "boolean"
  },
  "agentEnabled": true
}
Field Description
name Display name in the UI
description Shown in tooltips and as AI tool description
category Groups components in the sidebar
inputs Input parameters (simple type or object with default)
outputs Output fields available to downstream nodes
agentEnabled If true, AI agents can use this as a tool
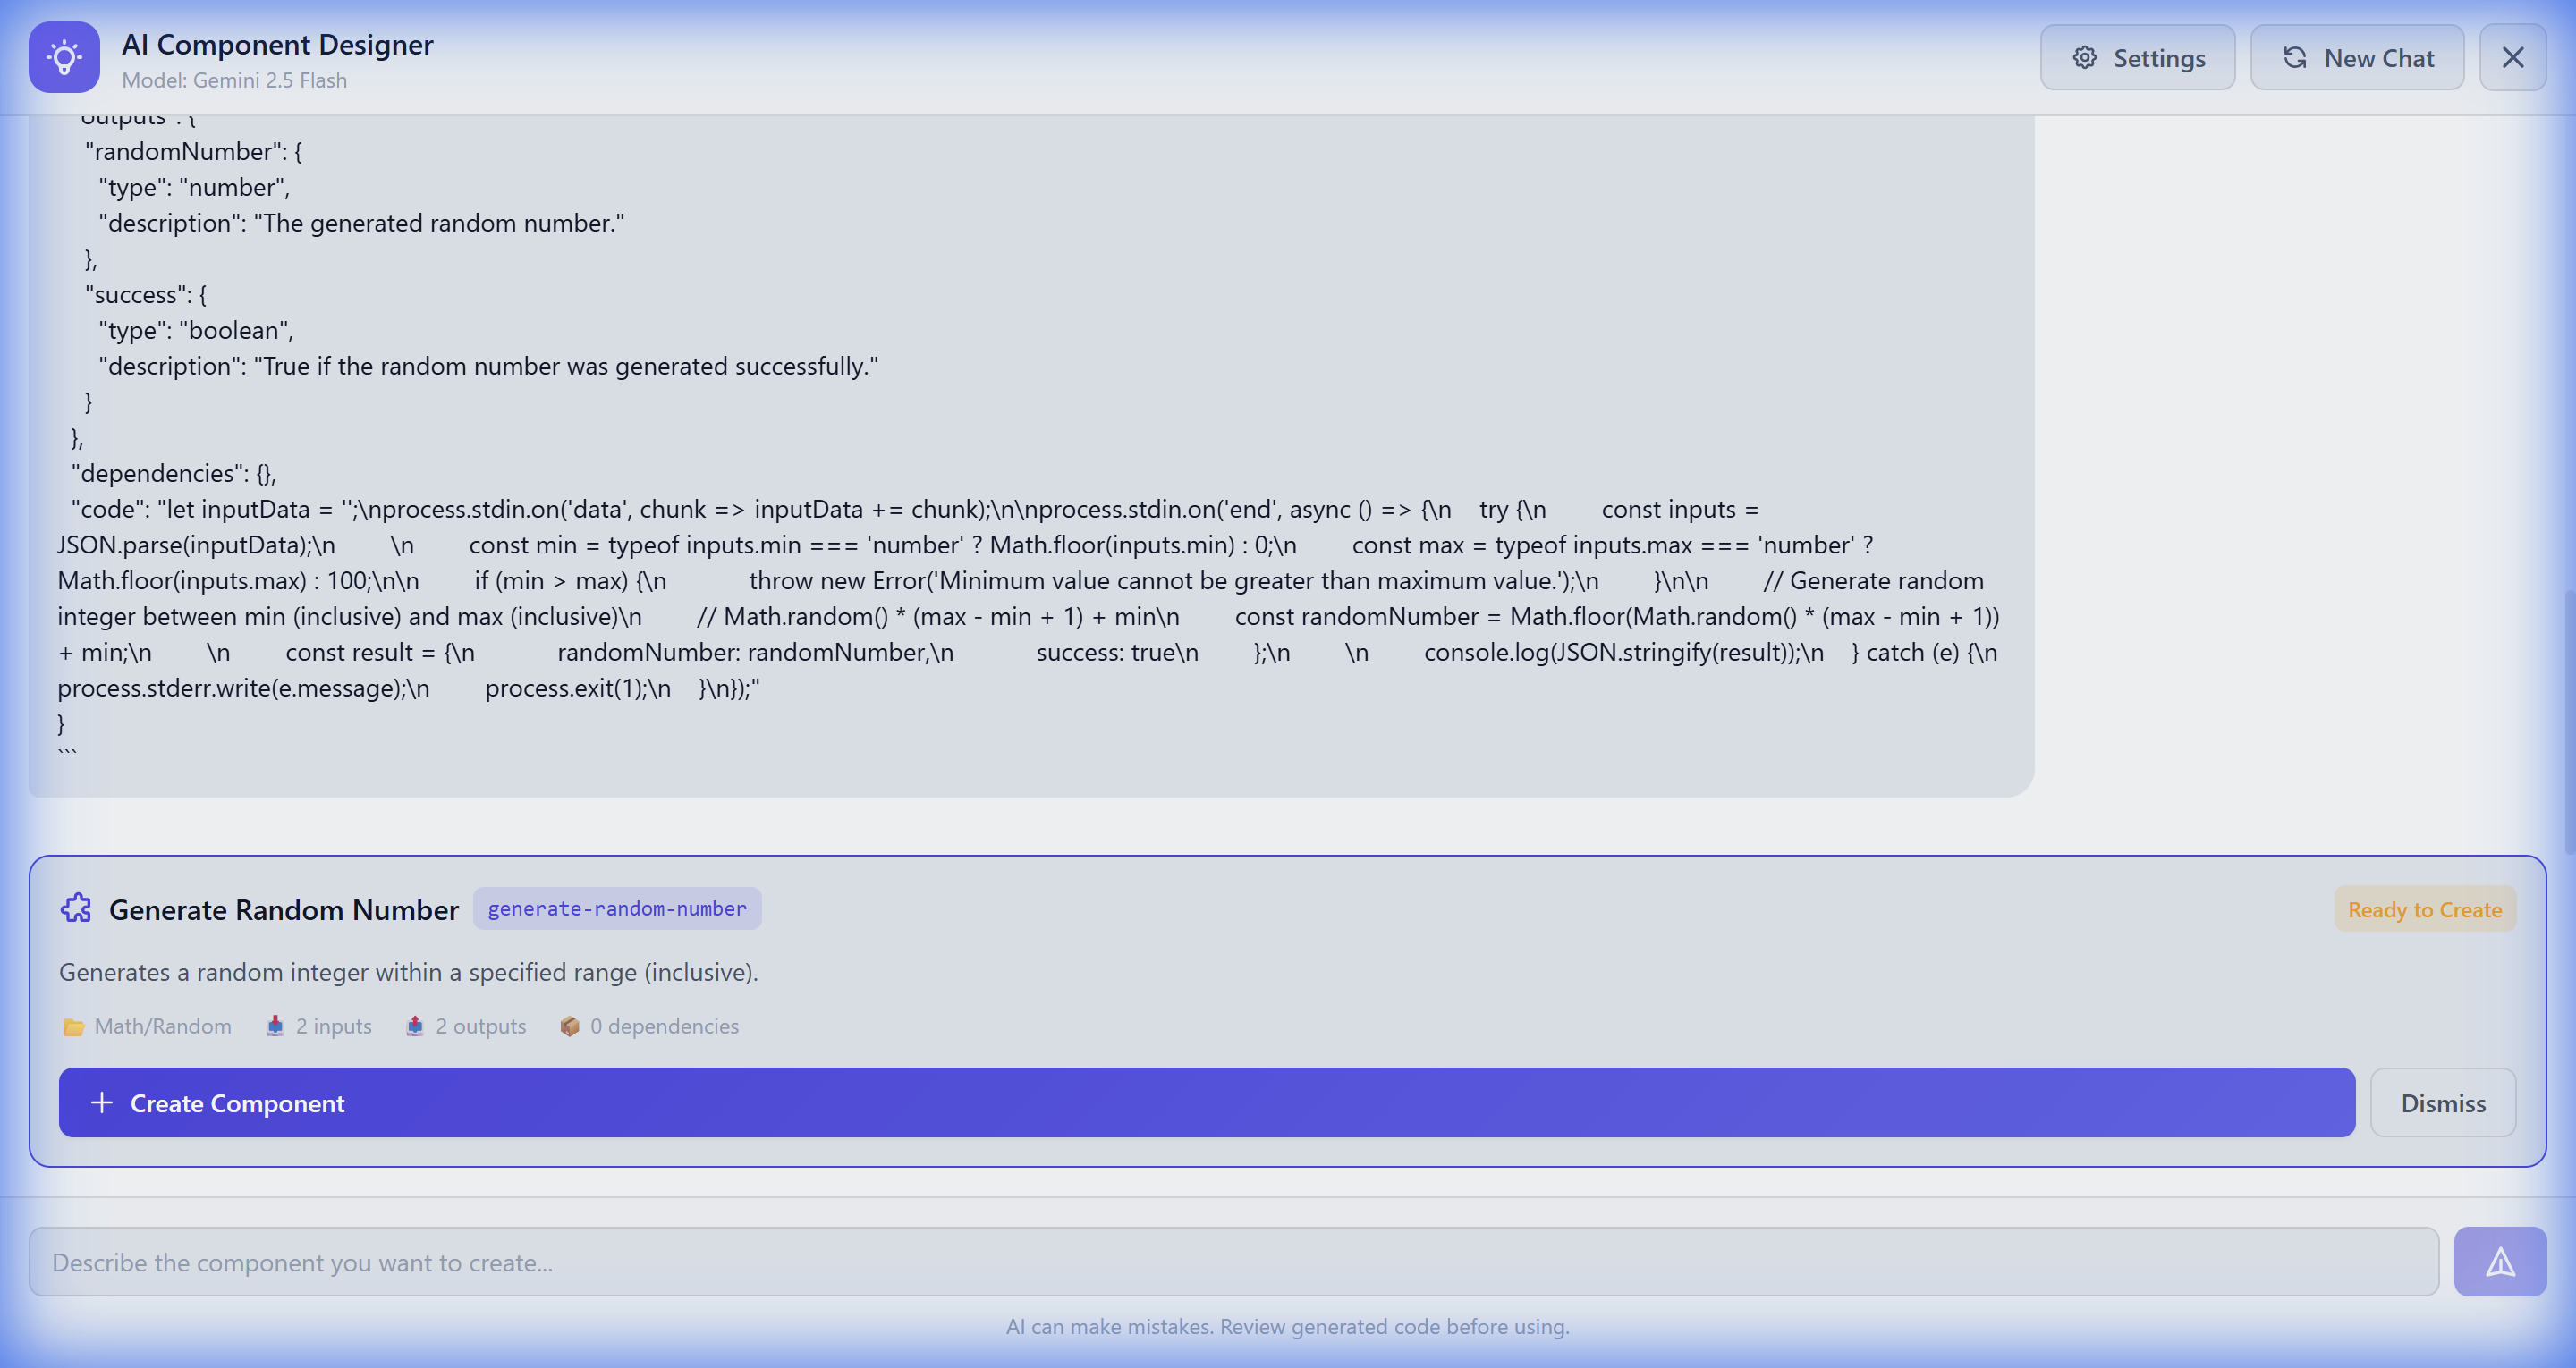
⚙️ index.js Pattern

// Standard component pattern
let inputData = "";
process.stdin.on("data", chunk => { inputData += chunk; });

process.stdin.on("end", () => {
    try {
        // Parse inputs from stdin
        const inputs = JSON.parse(inputData);
        
        // Your component logic here
        const result = processData(inputs);
        
        // Output must be JSON with keys matching component.json outputs
        console.log(JSON.stringify({ 
            result: result,
            success: true 
        }));
    } catch (e) {
        console.log(JSON.stringify({ 
            error: e.message,
            success: false 
        }));
    }
});

📦 Adding Dependencies

If your component needs npm packages, add a package.json:

{
  "dependencies": {
    "axios": "^1.6.0",
    "lodash": "^4.17.21"
  }
}

Bee Flow automatically installs dependencies when the component is first loaded.